Cultural Exchange: Fermenting 101 with Violet

Clean-living blogger and mom, Violet, shares advice for making your favorite fermented foods at home.
Editor’s note: While Crunchy Culture generally features local folks from the Chicago area, we welcome out-of-towners in our ‘Cultural Exchange post’ program. Our guest blogger, Violet, has lived in many places around the U.S. including Idaho, Colorado and now, North Carolina. Violet shares healthy recipes and clean-living advice in her blog, Right at Home; we’re so grateful for her to share ‘fermenting 101’ tips and favorite recipes with us!
Fermenting is one of the oldest methods of preserving food, and it’s a powerful skill to add to your healthy living toolkit. While it may seem intimidating, people have been fermenting for thousands of years, from yogurt in 5,000 B.C. to cabbage ferments in ancient China. If generations before us could master fermentation with minimal tools and resources, you can absolutely do it too!
Our Journey
I’ve always been drawn to traditional skills from cooking to raising animals, but I didn’t discover fermentation until my husband faced a turning point in his health. Diagnosed with Crohn’s disease as a teenager, he reached a stage early in our marriage when we knew we needed to find a sustainable path to managing his health.
That search led us to functional medicine, where we gained a new perspective on food and learned practical skills, including fermentation. That summer, our tiny apartment kitchen turned into a probiotic workshop, with bubbling jars of everything from cranberries to sauerkraut tucked onto every counter and shelf.
As time passed, my husband noticed how these foods (along with our other dietary changes) were transforming his health, and I took up fermentation as a fun new hobby, perfecting my technique and experimenting with new recipes. We’ve moved around quite a bit and I’ve loved taking advantage of various local ingredients from cabbage and peppers in Northern Idaho to fresh dairy in North Carolina. These days, if you stop by my house, you’ll find a fridge stocked with traditional staples like homemade yogurt and kvass, and if you arrive at the right moment, you might even spot a giant crock of sauerkraut quietly bubbling on the counter. Stay a while, and I’ll probably pour you a glass of fresh water kefir!
Is Fermenting Safe? How to Tell When Something’s Wrong
In this modern era of food packed with preservatives or stored in controlled, cold environments, leaving something out at room temperature may seem scary. However, fermenting is actually one of the safest ways to preserve food, even safer than canning! The process naturally creates an acidic, probiotic-rich environment that harmful bacteria can’t survive in.
If something goes wrong, it’s easy to spot before any harm is done. Here are the signs of improperly fermented food:
Visible mold - If you see anything fuzzy growing on the top of your ferment, toss it! Occasionally you may see a powdery white film called kahm yeast which is harmless, but anything raised and fuzzy is mold.
Bad smell - Ferments should smell pleasantly sour, not like spoiled food.
Bad taste - If your ferment has passed the first two tests, it’s time to taste it! Fermented food has a pleasantly sour flavor, and it should never taste rotten. If it tastes good, it should be safe to eat!
Tips for Success
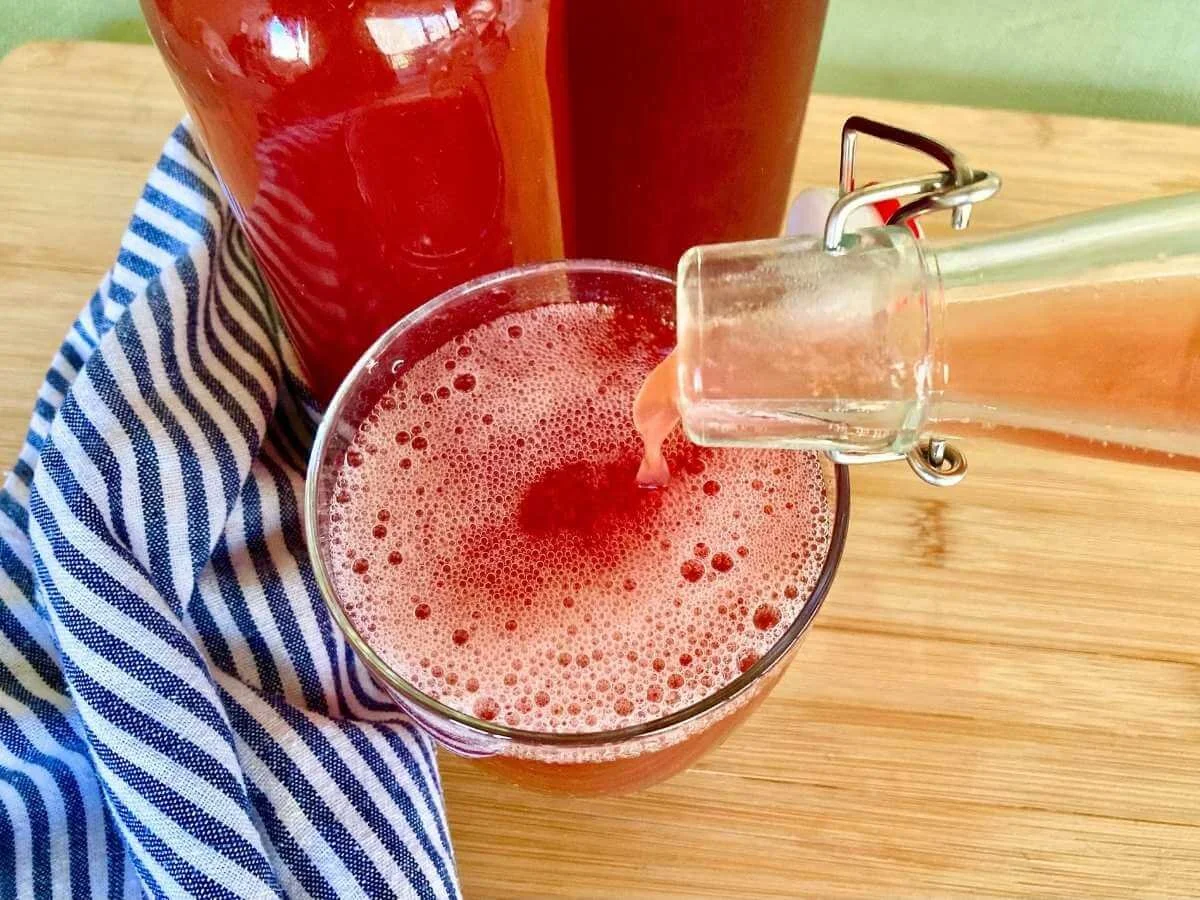
Bubbles in the water kefir are a good sign.
Use fresh ingredients - Older ingredients already contain a significant amount of bad bacteria which can hinder the fermentation process and lead to mold. From my experience, the best place to purchase fresh ingredients is direct from farmers. If you don’t have a local farmers market or the ingredients you want aren’t available in your area, I have had wonderful success ordering from Azure Standard. Health food stores occasionally have fresh enough ingredients as well, however, I do not recommend buying from standard grocery stores as I have had very little success when doing this.
Use clean, chemical-free water - The chemicals in tap water will stop the good bacteria from growing. Most countertop filtration systems don’t remove enough of the chemicals, so it’s best to use clean well water or spring water. You can also use reverse osmosis water, however, since all of the minerals have been removed, your ferments may not thrive quite as well. If this is your only option, simply make sure to use mineral-rich salt. Adding mineral drops is another good option in this situation.
Ferment at the proper temperature - Most ferments do best between 65 and 70 degrees, however, you’ll be fine as long as it stays between 60 and 75 degrees. If the temperature in your home is above 75 degrees, wrap your jars in a damp towel to keep them cool. Certain ferments like yogurt require a different temperature noted in recipes.
Don’t sanitize - Your fermentation containers and other tools should be clean, but do not sanitize them with bleach or antibacterial soap as this can stop the good bacteria from growing.
What a Healthy Ferment Looks Like
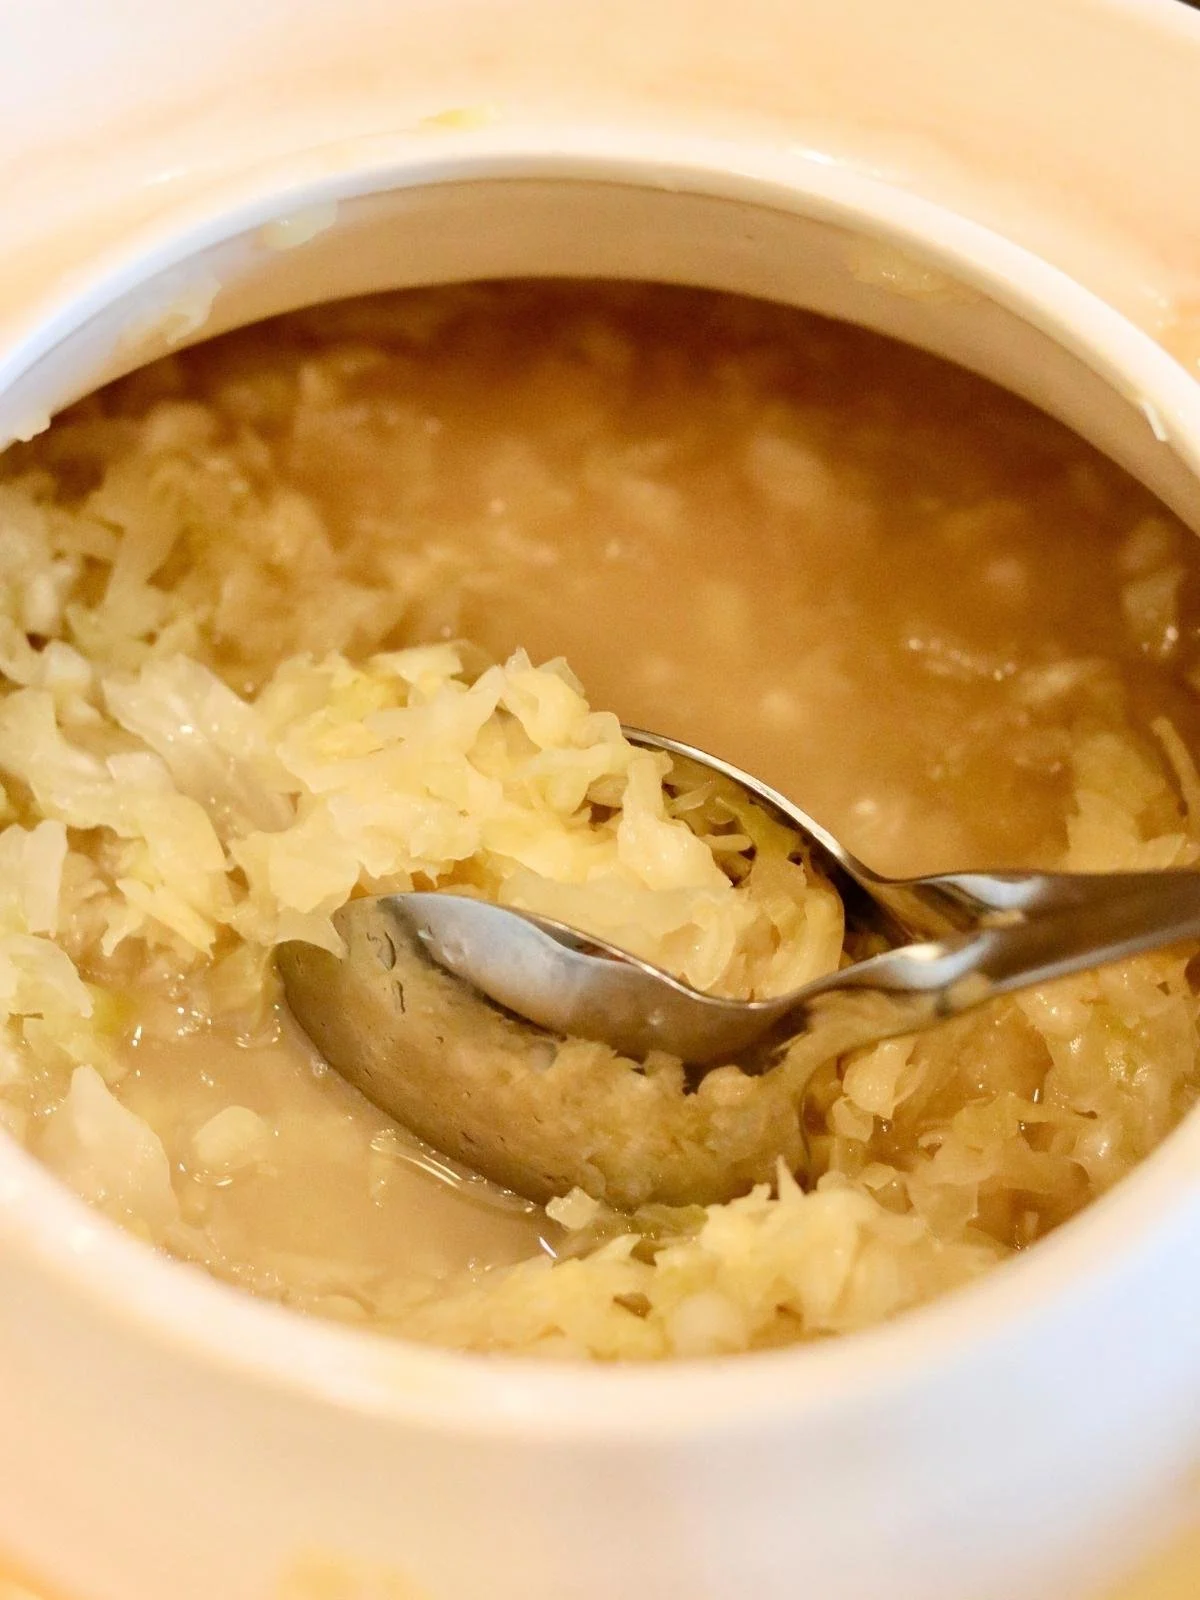
Making sauerkraut? Look for a cloudy brine and pleasant sour smell.
Properly fermented foods will all look slightly different based on the recipe, but here are some good signs to look for.
Bubbles and fizz - As food ferments, it may start to bubble or fizz. This can take anywhere from hours to a few days. The bubbling will stop as the ferment ages, and you may not see it at all on certain ferments (such as yogurt). However, if you notice it, it’s a good sign things are going well.
Cloudy brine - This is a great sign that food is properly fermenting.
Pleasant, tangy aroma - Food should never smell rotten or putrid.
Thicker consistency (primarily for dairy ferments) - If everything went well with your dairy ferment, it will have a noticeably thicker texture.
Fermenting Timelines: How Long Ferments Take and How Long They Keep
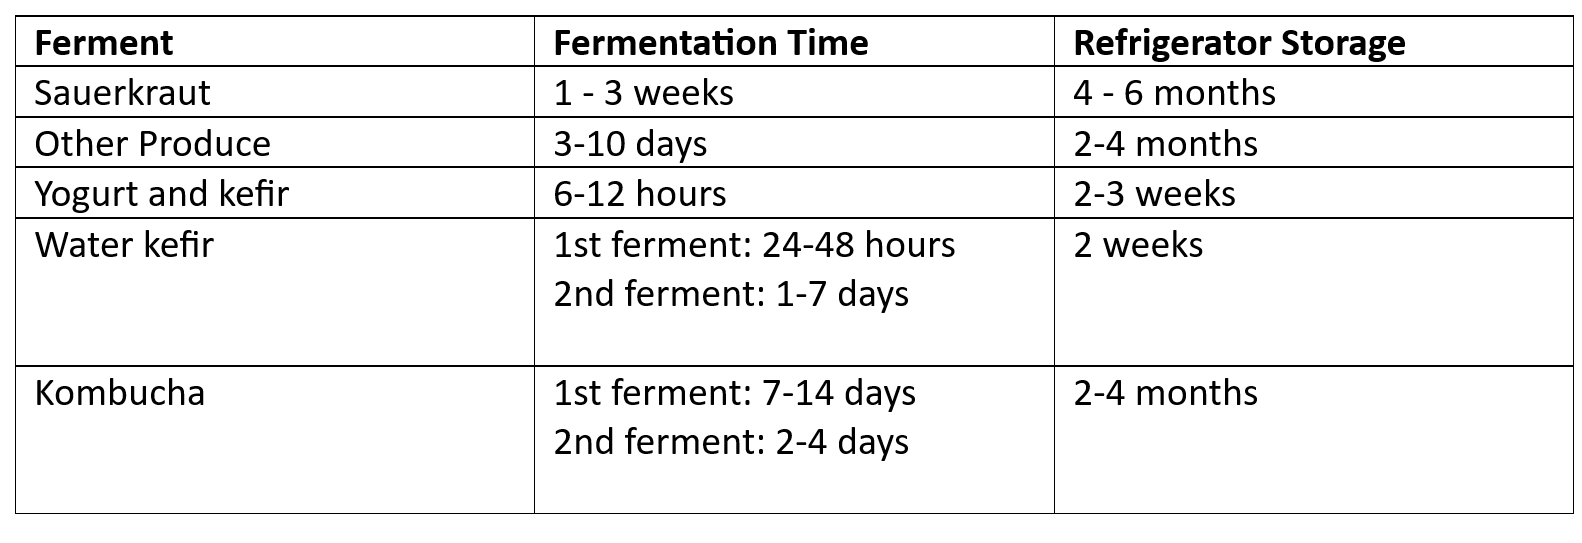
Note: Keep in mind that these are general guidelines and specific recipes may have slightly different timelines. Also, fermented foods and drinks will continue to slowly ferment in the fridge, so the longer you store them, the more sour they will become.
Essential Tools
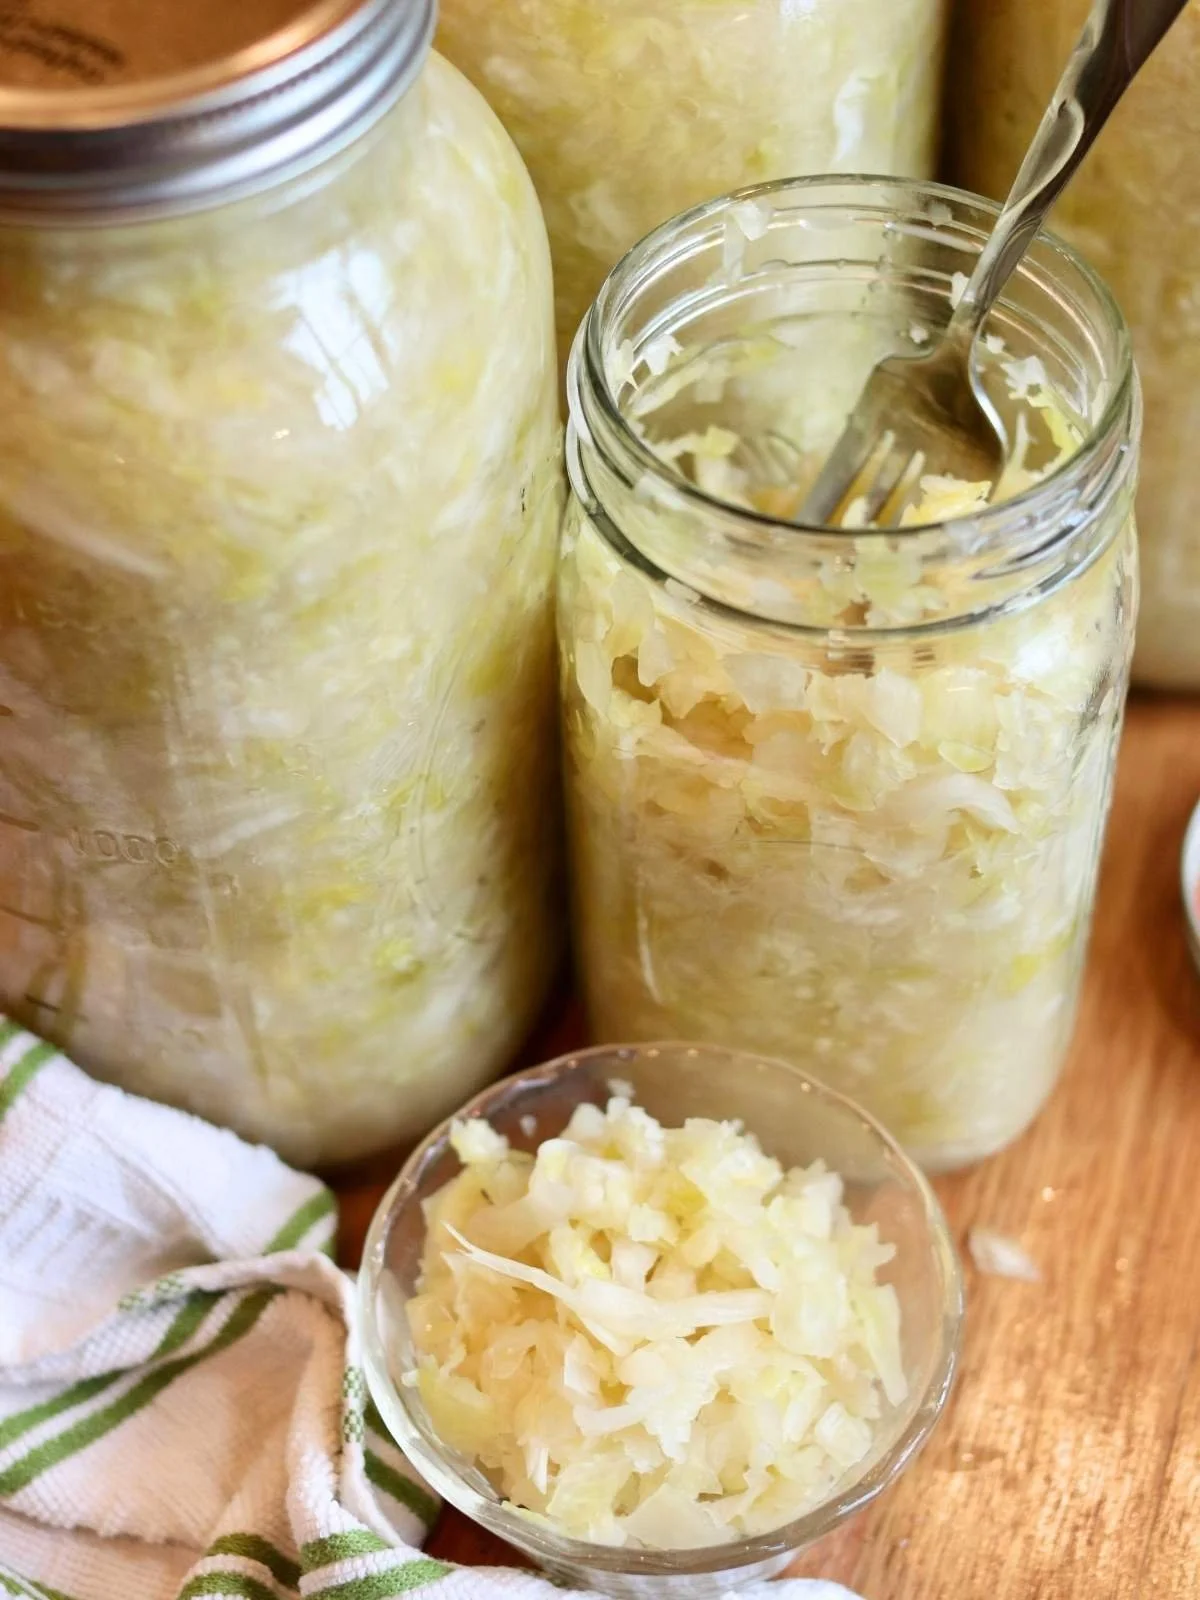
See, there was a reason for collecting all those mason jars.
While there are a number of fancier tools for fermenting, you don’t need much to get started. In fact, you may already have everything you need in your kitchen!
Wide mouth mason jars with lids - Regular mouth jars work too, but they’re a little more difficult to work with.
Fermentation weights - You can purchase glass fermentation weights, however, some people simply use a clean rock, a bag filled with marbles or brine, a small jar or dish, or a piece of a vegetable cut to the correct size.
Sauerkraut tamper (for sauerkraut and kimchi) - You can purchase one specifically for this or use a potato masher instead.
Swing-top glass bottles (for carbonated beverages) - These are essential if you want to make bubbly drinks without risking a bottle explosion!
Specialized Tools
If fermenting becomes a regular part of your routine, you may want to invest in additional equipment to make the process easier.
Fermentation crock with water seal - This is the easiest and most reliable way to ferment produce in bulk.
Fermentation lids - These automatically release the pressure in your ferments as it builds and eliminate the need to burp the jars.
Best Beginner Recipes
The hardest part of fermenting is getting started, and I recommend everyone start by learning to make a basic version of their favorite fermented food or drink. Here are some of my favorite simple recipes anyone can make:
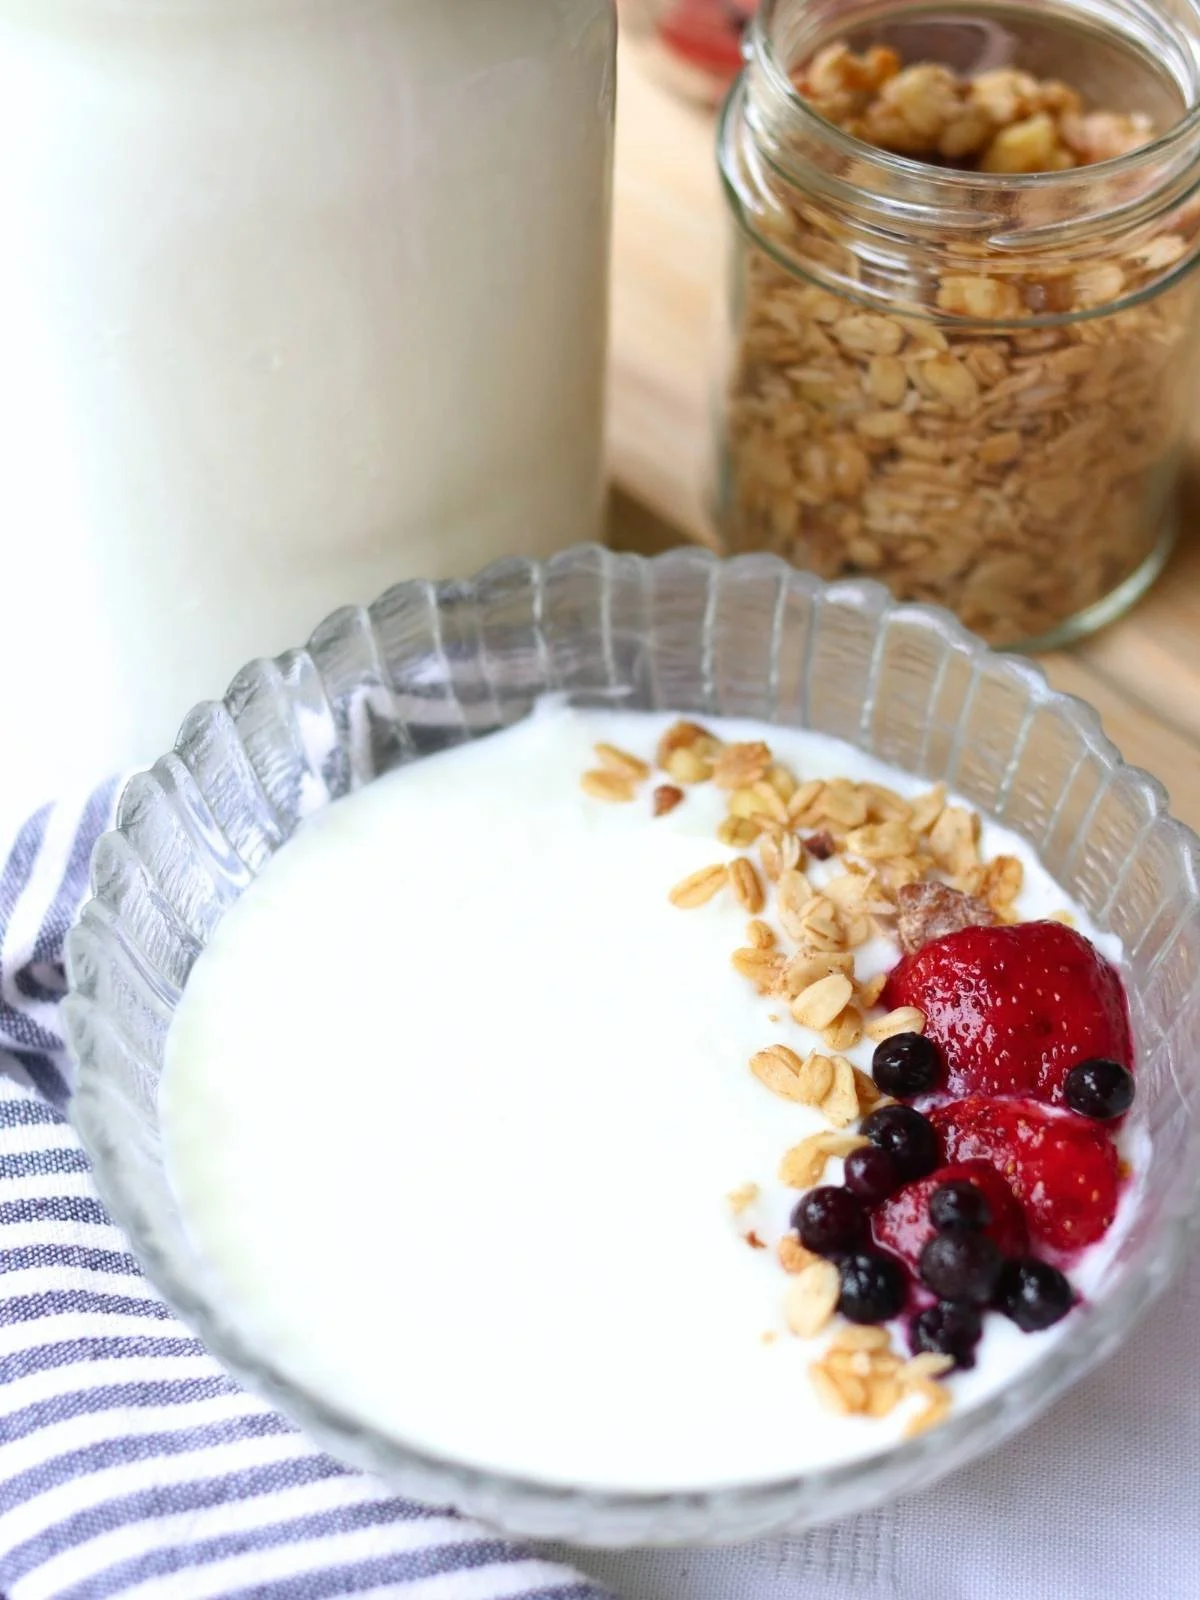
Plain homemade yogurt - This is one of the simplest, most rewarding recipes there is!
Sauerkraut - This recipe is written specifically for those using a crock. If you’re using mason jars instead, check out the sauerkraut recipe from Cultures for Health.
Water kefir - If you’ve never tried it, water kefir is like a lighter, fruitier version of kombucha that’s much faster to brew.
Honey fermented cranberries - If you want to try something extremely quick, easy, and fun, this is the best recipe for you! It only takes 10 minutes of prep time and is done in just a few days.
With a few simple ingredients, a little patience, and these tips, anyone can master fermentation. I hope this gives you the confidence to try your first recipe and begin enjoying these traditional, nourishing foods.
For more fermenting recipes, healthy eating tips, and a peek into my everyday life, sign up for my weekly newsletter. I’d love to have you along for the journey!